Since then, several people have asked me how to make it, so I decided to try to put it into words with a few photos to show everyone how ~ so here goes:
 |
| First you get an empty sack (the nylon kind ~ not the paper kind) that grain, chicken food, rabbit food, etc. comes in. |
 |
| Then cut off the bottom end just above the stitching to make a large tube. |
 |
| Your assistant may need to make sure you have done a thorough job making the tube. |
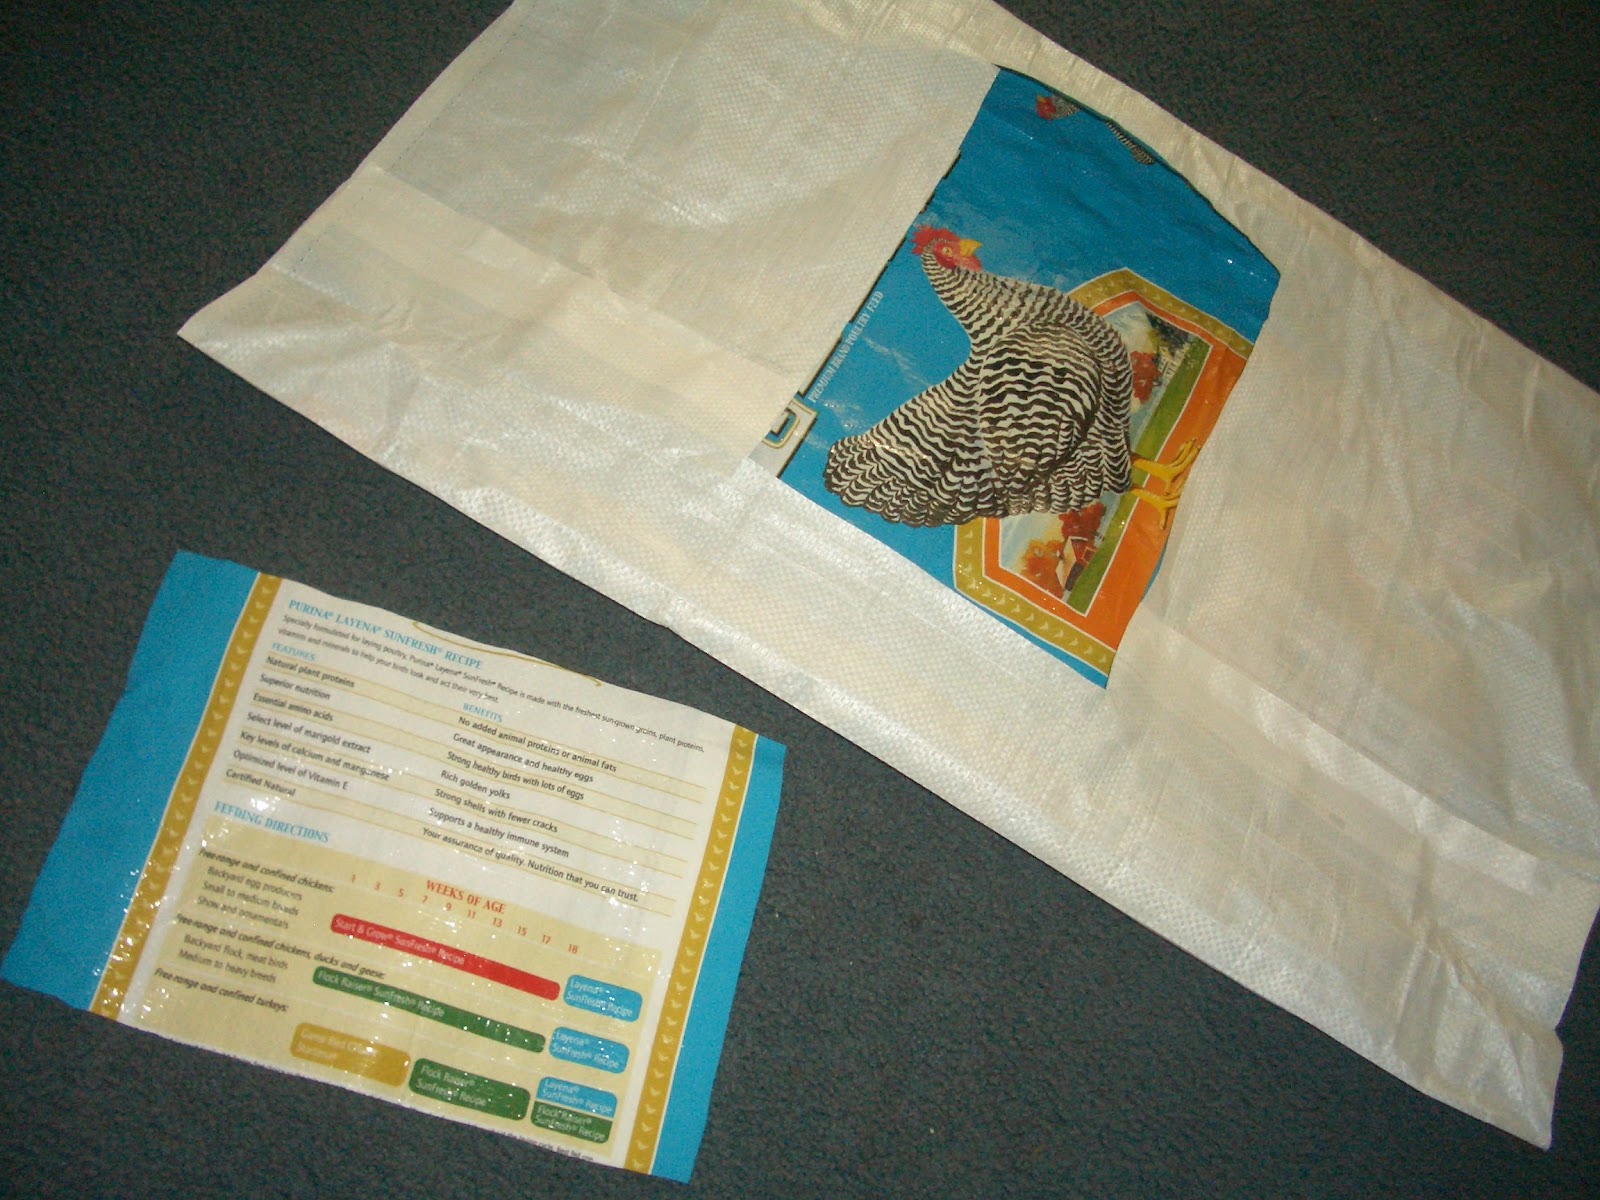 |
| Next, cut a rectangle in one side of the sack. Then turn the sack inside out. I usually cut the rectangle into the back of the sack as the front normally has a nice photo or art work. Make sure to save the cut out piece as you will use it in another part of the feeder. |
 |
| Again your assistant may feel the need to check your work before you turn the bag inside out. |
 |
| Next, make a diagonal cut at each of the four corners of the rectangle, just about a half inch or so. |
 |
| Then fold the bag in at the diagonal cut and sew down the little flap. Do this on all four sides of the rectangle cut. This helps keep the edges from fraying where the goats (or other hay eating creatures) will stick their heads in. |
 |
| While your assistant checks to make sure you have all four sides of the rectangle sewn in place you can do the next step. |
 |
| Remember the inside of the rectangle that you cut from the bag? Well now you need it. Cut it in half and then fold it in thirds so that the pieces overlap just a tiny bit. Sew down the overlap. You are making the piece that will connect the upper and lower parts of the rectangle (see photos below) this helps to give the feeder support. |
 |
| Remember you are only attaching this to the top and bottom of the rectangle. You should still be able to make the sack into a tube. |
 |
| Next you need to sew the bottom of the bag closed. I normally sew across the entire bottom twice to make sure it is strong. |
 |
| When you are done with the bottom then you will need to make a 3" cut on each side of the top. In other words, make sure the bag is laying completely flat then on the right and left side of the bag, make a cut down about 3". |
 |
| Fold down the 3" flap and sew it down. Do this on both sides of the bag. When you are done you should have a folded down top that has two slits on each side where the sides come together. When you are done sewing down the top on both sides of the bag then turn it back right side out. |
 |
| Now for the ties or handles. I cut a piece of baling twine in half and tie one piece to a large (heavy) snap and then thread it through one side of the 3" flaps you just made. When I am done I do the same thing to the other side. |
 |
| Voila` ~ You just made a nearly free feeder. And you helped save our planet just a little by recycling, reducing and reusing an item that may have ended up in a land fill. |
 |
| However, if you decide you don't want to use it as a feeder it can double as a cat toy. |

 |
| Here is a finished feeder with hay added. |
 |
| A close up of the handles or ties. |
I just made one of these and I LOVE IT! Thanks for posting a tutorial! :D We were in desperate need of some new hay feeders, and what a cost-effective method of making one.
ReplyDeleteHi Bessie,
ReplyDeleteI'm so glad you liked these hay feeders. The production could probably use some improvements but I haven't found a better way of making them yet. If I do I will be sure to post it.
Have a great day! :-)