Monday, November 5, 2012

Zucchini (continued) recipe #4

Use #4 ~ Salsa ~ Just the word makes me salivate.


OK ~ So I guess this isn't really a recipe but more of a suggestion. First find your favorite Salsa recipe and add finely diced zucchini to it before you can it. You can even add it to fresh salsa. Our Salsa is never the same twice. Sometimes we add corn, sometimes black beans, sometimes both. :-) It is wonderful and healthy no matter what fresh savory ingredients are added.


Wednesday, October 31, 2012

Happy Halloweenie

This year's theme for Halloweenie is just buggy.


Clifford politely tries on the costume we purchased for him to wear out trick-or-treating but ... 


He had already planned his Halloweenie costume. "Alms for the poor, good citizen?"

Meanwhile K.C. is not sure if red really is his color, but he is rockin' his man bug costume. "That, that, dude looks like a lady!"


And Harry .. well he is just as adorable as always, but he'd rather no one look. 


"What you lookin' at ... Punk?!" 


"I'm sexy and I know it."


"Hey guys look I'm a tofu dog!"


Wednesday, October 17, 2012

Lots of Little Boys

Cinna and her three boys.
Our fall kidding season has started off with lots of little boys! Perhaps I should be disappointed with this, as it is always nice to have doelings, but to be honest I'm not the least a bit disappointed. The two does that were first up on our kidding schedule are both first fresheners and just the fact that they were able to kid (freshen) without complications and are now in milk, is enough. Besides 100% of our sales from wethers goes to charity and that is always a good thing.

Serengeti and her little boy.


Sunday, October 14, 2012

The Girls are Growing Up

The junior shepherdess is somewhat obsessed with poultry. OK, maybe not somewhat, more like totally. She is always telling me random facts about chickens. You probably remember when her mom, the shepherdess was trying to explain "chicken math" and one addend was a group of ten chickens that got into the truck after a trip to buy me hay at the local feed store. I don't know what got into the mind of that shepherdess but she went for a truckload of hay and came home with a truckload of chicks. "Just say NO, woman!" Well, the chicks are growing up and yesterday they decided to start laying eggs. I have to admit it was pretty exciting to see what the junior shepherdess found in the nesting box. Two small eggs nestled in with the normal sized eggs.

The first eggs of a pullet (ours are shown on the left in green and tan) are about 25% smaller than normal but they will slowly become larger.

All the hens were so proud. All of them kept singing for hours. The old hens won't admit it but they were strutting their stuff too. You could hear some of them boasting how they were the ones who taught the pullets how to lay their eggs in the next box. The Diva said, "Well, you know you have to have your tail feathers at a 73 degree angle to the edge of the nest box so that your egg is cushioned just right when it lands so it won't get cracked." Maybe that is another example for the term Mother Hen.

Wednesday, September 26, 2012

Zucchini (continued) recipe #2 & #3

Use #2 ~ Zucchini and Humus Sandwich

One of my favorite sandwiches is Zucchini and Humus. Fresh homegrown zucchini is best but with the availability of zucchini year round, in the grocery store, this is a sandwich that you can enjoy anytime. It is also an extremely fast sandwich to make if you have been out in the garden for too long and find yourself famished. Simply slice a medium zucchini lengthwise and saute' until golden brown. Then layer the zucchini onto your favorite bread with a thin or thick layer of your favorite humus.  Fast and delicious!


Use #3 ~ Orzo Pasta w/ Zucchini, Sundried Tomatoes, and Artichoke Hearts

Again, so easy and delicious. While your Orzo pasta is cooking you can prepare the vegetables. Dice the zucchini into small 1/4" slices, then saute' with sundried tomatoes and atrichoke hearts. Salt and pepper to taste. When the pasta is done drain it and add it to the sauted veggies. This pasta is good hot or cold. I like a ratio of 3 parts veggies to one part pasta but you can use as much or as little pasta as you like.

Wednesday, September 19, 2012

Best of Show


The week before last we attended our local fair and we were very fortunate to be able to bring home some “Best of Show” awards. I thought those of you who visit us here would like to see the honors.

Kyrstyn's Beautiful Call Duck Stanley was awarded Grand Champion and the Best Duck in Show. She is a beauty if I say so myself.


Kyrstyn also hand painted a gourd and it was awarded first place for the youth division then Best of Show and it was also given a special award of recognition by the California Gourd Society.

The gourd is painted as if a hand were grasping it ~ however it is hard to show that in a photograph, in person it is stunning. The shading and detailing are amazing.

Kynnedy's crystal bi-cone necklace was also awarded Best of Show.

Again it is hard to show the detail work done on this necklace as well at the other beaded items of Kynnedy's but she has become quite adept at all of her beading ventures.

Kynnedy also won first place with her 'Little Ladies in Blue' and her 'Two Tone Triangle Bracelet' as well as her adorable 'Flying Pig' Christmas ornament.


Kyrstyn brought home a first place ribbon with her water color painting of a parrot.


I often tell the girls how talented they are, but they say, "Awe Mom you are just prejudice." Well maybe, but I still think they are awfully talented.


Tuesday, September 11, 2012

Recycle, Reduce, Reuse

     Not too long ago I wanted to make a feeder that was cheap and durable with minimal cost, to take to goat shows. I came up with the idea of making a feeder using the sack that grain comes in. 
     Since then, several people have asked me how to make it, so I decided to try to put it into words with a few photos to show everyone how ~ so here goes:

First you get an empty sack (the nylon kind ~ not the paper kind) that grain, chicken food, rabbit food, etc. comes in.


Then cut off the bottom end just above the stitching to make a large tube.

Your assistant may need to make sure you have done a thorough job making the tube.


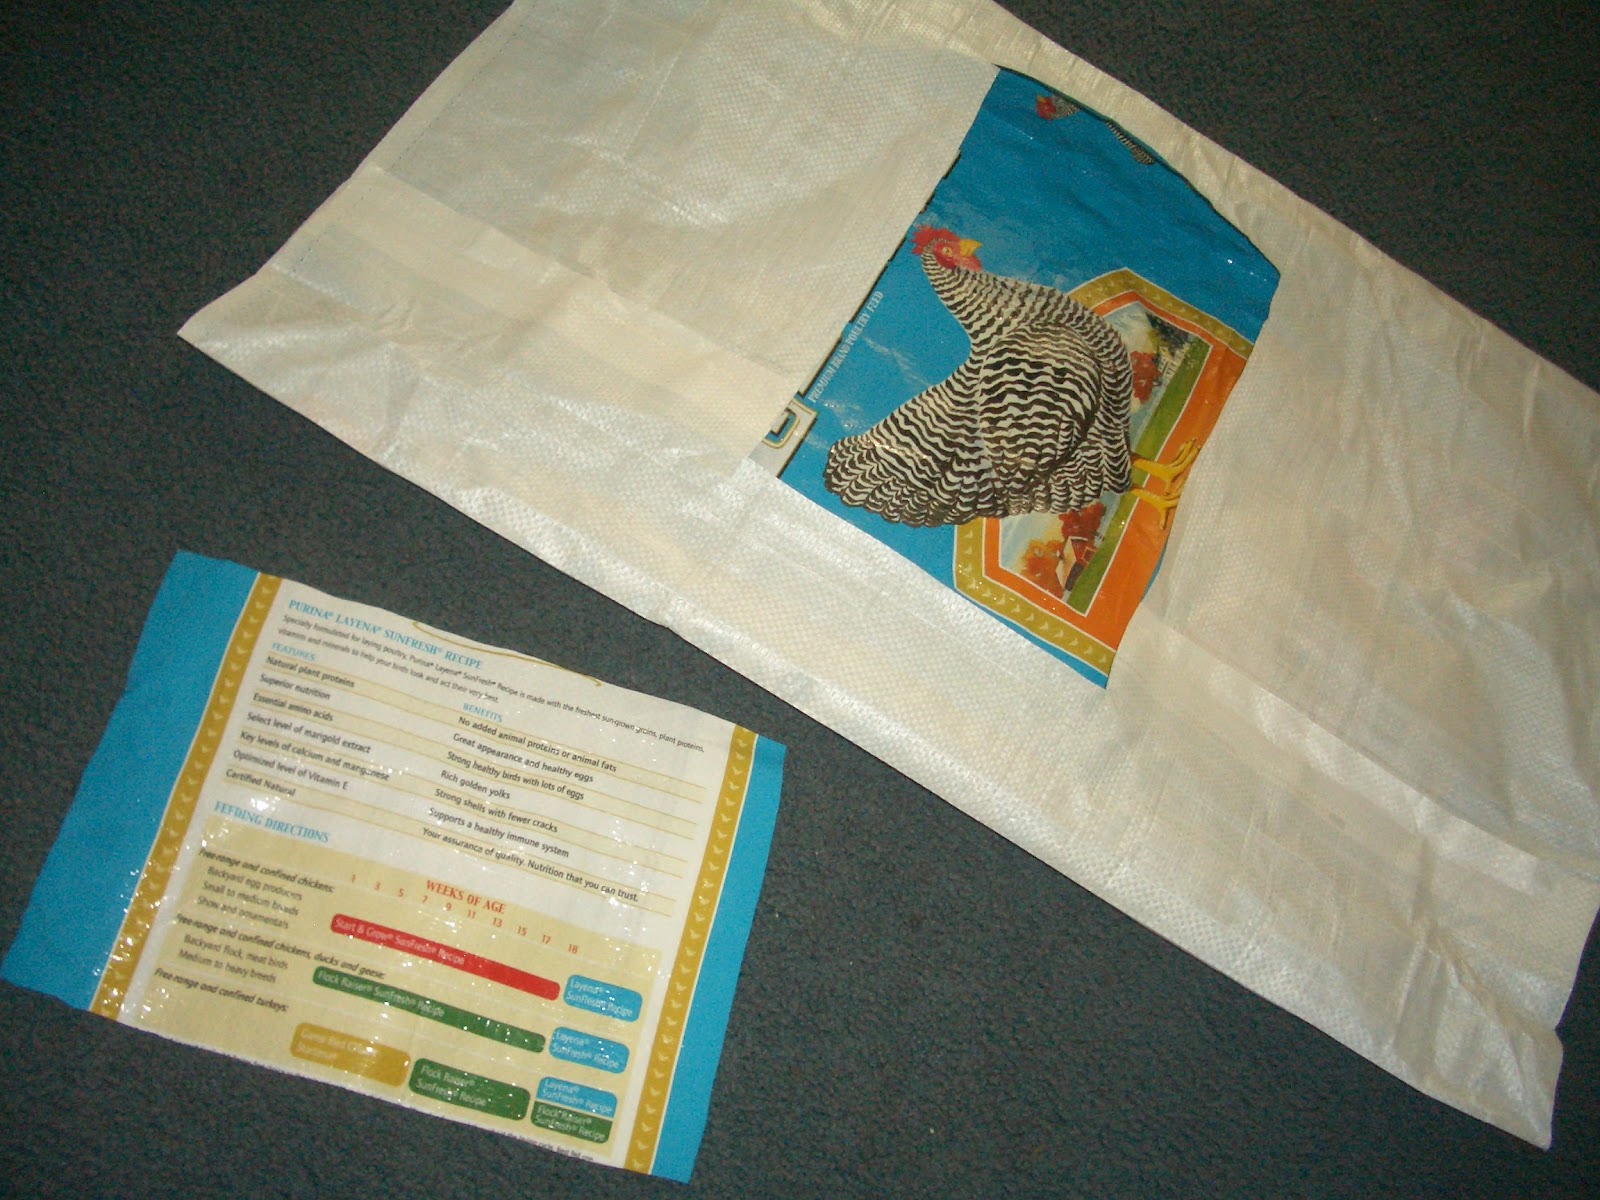
Next, cut a rectangle in one side of the sack. Then turn the sack inside out. I usually cut the rectangle into the back of the sack as the front normally has a nice photo or art work. Make sure to save the cut out piece as you will use it in another part of the feeder.


Again your assistant may feel the need to check your work before you turn the bag inside out.


Next, make a diagonal cut at each of the four corners of the rectangle, just about a half inch or so.

Then fold the bag in at the diagonal cut and sew down the little flap. Do this on all four sides of the rectangle cut. This helps keep the edges from fraying where the goats (or other hay eating creatures) will stick their heads in.
While your assistant checks to make sure you have all four sides of the rectangle sewn in place you can do the next step.


Remember the inside of the rectangle that you cut from the bag? Well now you need it. Cut it in half and then fold it in thirds so that the pieces overlap just a tiny bit. Sew down the overlap. You are making the piece that will connect the upper and lower parts of the rectangle (see photos below) this helps to give the feeder support.


Remember you are only attaching this to the top and bottom of the rectangle. You should still be able to make the sack into a tube.


Next you need to sew the bottom of the bag closed. I normally sew across the entire bottom twice to make sure it is strong.


When you are done with the bottom then you will need to make a 3" cut on each side of the top. In other words, make sure the bag is laying completely flat then on the right and left side of the bag,  make a cut down about 3".


Fold down the 3" flap and sew it down. Do this on both sides of the bag. When you are done you should have a folded down top that has two slits on each side where the sides come together. When you are done sewing down the top on both sides of the bag then turn it back right side out.
Now for the ties or handles. I cut a piece of baling twine in half and tie one piece to a large (heavy) snap and then thread it through one side of the 3" flaps you just made. When I am done I do the same thing to the other side.

Voila` ~ You just made a nearly free feeder. And you helped save our planet just a little by recycling, reducing and reusing an item that may have ended up in a land fill.

However, if you decide you don't want to use it as a feeder it can double as a cat toy.


Here is a finished feeder with hay added.
A close up of the handles or ties.